For my Computer-Aided Design course group project, I performed reverse-engineering on a mini-desk vacuum. This project was my first experience with SolidWorks, and I enjoyed learning the basics of how to model everyday objects using hand-drawn and computer-aided techniques.
The requirements for the project were that we spend less than $10 on the item that we choose to model, and so we decided to purchase a mini desk vacuum from Amazon for $9.99.

Once the mini desk vacuum arrived, we deconstructed it and used tape measurers to dimension the vacuum components to the best of our ability.
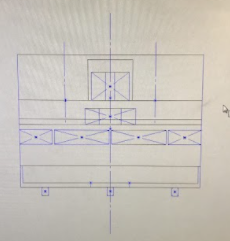
We also identified functions of each product part. And we individually hand-drafted models of the mini desk vacuum using the dimensions that we have found.

I also created a 2D drawing on SolidWorks to get a better understanding of how the Sketch function and reference geometry work.

Once I completed my 2D computer drawing, I used SolidWorks to create my 3D model of the vacuum, while referring to my hand-drafted and computer-drafted 2D models.
Once the 3D model was completed, my group and I gave a presentation on the functions and purpose of our part, showed the class our modelling process, and we also provided product improvements such as stronger plastic material for the filter and dust compartment (since the vacuum will need to be emptied frequently), rubber grips on the sides of the vacuum (so that it is easier to hold the vacuum and move it across large surfaces, like desks). We also did a brief cost analysis on how much the rubber grips would cost, and it was approximately $0.10-$0.20 per vacuum. Since this vacuum was only $9.99, we can’t expect it to be made with the highest quality materials, but we were happy that it worked well for this price and that it could keep our desks clean from the large amounts of eraser shavings that we left every time we were given a hand-drawing or geometry constructions assignment for this class.


